Contents:
- Quick Answer Box
- Why Straighteners Create Curls: The Physics
- Equipment You Need
- The Straightener
- Supporting Products
- Preparation: Setting Yourself Up for Success
- Hair Type Considerations
- Pre-Styling Preparation
- The Technique: Step-by-Step Curling Process
- Section Selection
- Clamping and Rotation
- Gliding Toward Ends
- Curl Direction
- Regional Differences in Curling Preferences
- What the Pros Know
- Troubleshooting Common Issues
- Curls Not Holding
- Inconsistent Curl Tightness
- Frizz or Damage
- Curls Falling Out Quickly
- Cost Comparison: Straightener Curling vs. Alternatives
- Maintenance and Lasting Results
- FAQ
- Can you curl hair with a straightener?
- How long do straightener curls last?
- Is it bad to curl hair with a straightener?
- What temperature should I use for straightener curls?
- Can I straightener-curl short hair?
Have you ever wondered why people spend money on expensive curling tools when many already own a straightener? Creating curls with a hair straightener has become popular precisely because it works—and most people already have one gathering dust in a drawer. The technique seems counterintuitive at first: how does a tool designed to flatten hair create curls? The answer lies in understanding the physics of what’s actually happening when you rotate the tool through your hair.
Quick Answer Box
To curl hair with a straightener: clamp a small section of hair near the roots, rotate the straightener 180 degrees to turn the clamp upside down, then glide it slowly toward the ends while maintaining rotation. The result is a curl. Takes roughly 10-15 minutes for a full head. Works best on medium-length or longer hair. Budget-friendly alternative to curling irons.
Why Straighteners Create Curls: The Physics
A hair straightener applies heat to close the hair cuticle and smooth the structure. When you clamp hair between the plates and rotate the tool, you’re not actually straightening—you’re wrapping the hair around the barrel formed by the plates and applying heat to set that shape. Essentially, you’re using the straightener as an impromptu curling iron.
The key difference from a proper curling iron: straightener plates sit flat, so the curl must be created by rotation and technique rather than the tool’s shape. This requires more skill but produces excellent results once you understand the technique.
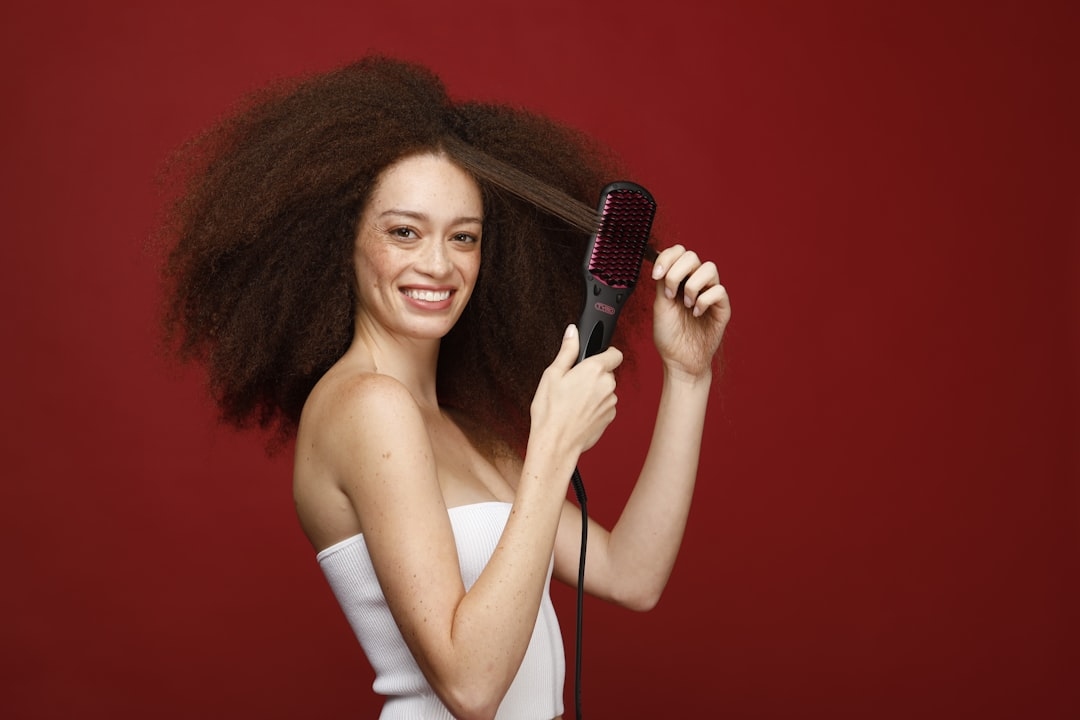
Equipment You Need
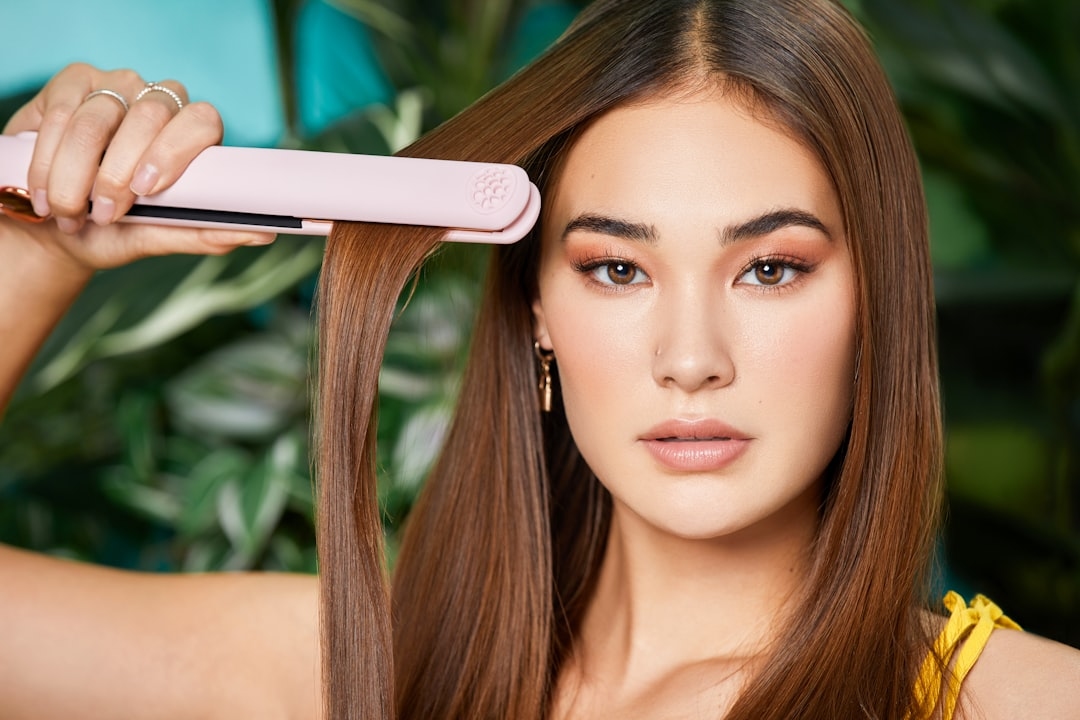
The Straightener
Any straightener works, but certain features make curling easier. Wide plates (1-2 inches) are better than narrow ones—they accommodate more hair, making the process faster. Ultra-thin plates can work but require thinner sections and more time. Look for straighteners with adjustable temperature (ideally 160-230 degrees Celsius) since different hair types need different heat levels.
Budget straighteners (£15-30) work fine. Professional quality straighteners (£40-80) heat more evenly and hold temperature better, making curls more consistent. If you already own a straightener, use it; upgrading isn’t essential.
Supporting Products
Heat protectant spray (£4-8) is essential—apply before curling to prevent damage. Leave-in conditioner makes hair healthier and helps curls hold longer. Light hairspray (not heavy-hold) helps set curls without making them stiff. None of these are expensive, totalling around £15-20 for all three.
Preparation: Setting Yourself Up for Success
Hair Type Considerations
Straightener curling works best on hair that’s at least shoulder-length. Shorter hair doesn’t give enough length for the curl to form properly. Medium to long hair (20-60 centimetres) is ideal.
Hair texture matters. Fine or thin hair holds curls well and is easiest to work with. Thick, coarse hair holds curls but requires higher heat and slower gliding. Very curly hair already has texture, so straightener curls might not be noticeable; this technique works best on straighter hair types.
Hair that’s freshly washed (washed yesterday or today) holds curls better than very old-wave hair. Completely dry hair is essential—wet hair won’t curl and you risk damage.
Pre-Styling Preparation
Brush your hair thoroughly to remove all tangles. Section your hair into 4-6 vertical sections using clips. This prevents you from missing areas and keeps you organised. Your goal is to curl each section systematically rather than randomly.
Apply heat protectant spray throughout. Let it dry completely (roughly 30 seconds) before heating. This creates a protective barrier between heat and your hair.
The Technique: Step-by-Step Curling Process
Section Selection
Take one section. Within that section, work with subsections about 2-3 centimetres wide. Thinner sections curl more easily and create tighter, more defined curls. Thicker sections curl faster but create looser waves. Start with medium-width sections (about 2 centimetres) whilst learning.
Clamping and Rotation
Clamp the straightener approximately 5 centimetres from the roots (not right at the scalp, as this causes discomfort and potential burning). Close the plates firmly—you want tension holding the hair, not so tight it pinches uncomfortably.
Immediately rotate the straightener 180 degrees. This “flips” the straightener upside down, wrapping hair around the barrel created by the plates. The plates now point slightly downward and inward, setting up the curl shape.
Gliding Toward Ends
Slowly glide the straightener down the hair section toward the ends. This should take roughly 3-5 seconds for a shoulder-length section. Speed matters: too fast and the curl doesn’t set; too slow and you risk heat damage. Moderate, deliberate speed is ideal.
As you reach the very ends, you can slightly open the plates (creating a “release” motion) or flip them back to straight. The curl is now set and won’t straighten back out when you release.
Curl Direction
You can curl away from your face or toward your face depending on the aesthetic you want. Most people curl away from the face for a flattering frame. Alternating direction (curling away, then toward, then away as you move around your head) creates texture and prevents a “too uniform” appearance.
For a full head, you might curl all sections away from your face, or alternate direction for each section. Experimenting shows you what you prefer.
Regional Differences in Curling Preferences
Interestingly, curling preferences vary across the UK. In London and the South, tighter, more defined curls are often fashionable. In Northern regions, looser waves are more common. The West tends toward tousled, textured curls. These aren’t about what actually suits you; they’re cultural style norms. Your straightener-created curls work in any region—adapt the tightness and texture to local aesthetic if you care about fitting in.
What the Pros Know
Professional stylists understand that straightener curling requires practice but produces results comparable to expensive curling tools once mastered. Many hairdressers teach clients this technique specifically because it’s so effective for achieving salon-quality curls at home. The learning curve is real—your first attempts might be uneven or loose—but within 3-4 tries, most people develop the muscle memory for consistent curls.
Troubleshooting Common Issues
Curls Not Holding
Likely cause: moving too fast or not clamping firmly enough. Slow your glide and ensure the straightener is gripping the hair firmly. Also check your heat setting—if too low, curls won’t set. For most hair, 180-200 degrees Celsius is ideal.
Inconsistent Curl Tightness
Likely cause: varying your glide speed or rotation angle between sections. Try to keep each step consistent. Muscle memory develops with repetition, so practice makes it easier.
Frizz or Damage
Always use heat protectant. Ensure your straightener isn’t too hot (over 220 degrees Celsius causes unnecessary damage). Don’t repeatedly curl the same section—once per styling session is sufficient. If you’re consistently getting damage, your straightener temperature might be too high or the technique might be trapping too much heat.
Curls Falling Out Quickly
Apply light hairspray immediately after curling whilst hair is still warm. The heat helps the spray set the curl. Sleeping on the curls flattens them; use a silk pillowcase or silk bonnet to preserve them overnight.
Cost Comparison: Straightener Curling vs. Alternatives
If you already own a straightener, curling cost is essentially zero plus optional heat protectant (£4-8). Curling irons cost £20-60. Professional curls at a UK salon cost £25-50 per visit. Over a year, doing your own straightener curls costs under £20, whilst professional curls cost £300+. The savings are substantial.
Maintenance and Lasting Results
Straightener curls last roughly 1-2 days depending on hair type and humidity. Finer hair holds curls longer; thicker hair might lose definition faster. Humidity significantly reduces curl lifespan. After the first night, curls begin relaxing into waves.
You can refresh curls the next day by re-curling just a few sections, taking just 5 minutes rather than the full 15. This extends the style’s life.
FAQ
Can you curl hair with a straightener?
Absolutely. It requires technique but produces excellent curls. Clamp hair, rotate 180 degrees, and glide slowly toward ends. Takes practice but works for most hair types.
How long do straightener curls last?
Roughly 1-2 days depending on hair type and humidity. Fine hair holds curls longer. You can refresh curls the next day by re-doing a few sections.
Is it bad to curl hair with a straightener?
No more damaging than using a curling iron if done properly with heat protectant. The heat and technique are comparable. Always use heat protection and don’t repeatedly curl the same section.
What temperature should I use for straightener curls?
Fine or thin hair: 160-180 degrees Celsius. Medium hair: 180-200 degrees Celsius. Thick or coarse hair: 200-220 degrees Celsius. Higher temperatures set curls faster but increase damage risk.
Can I straightener-curl short hair?
Short hair (above shoulders) is difficult because there’s not enough length for curls to form. Shoulder-length or longer works best. Very short hair won’t curl with this technique.
Curling hair with a straightener is genuinely effective and much cheaper than buying expensive curling tools. The technique takes practice, but within a few tries, most people create salon-quality curls at home. If you already own a straightener, you already have everything needed to create beautiful curls—you just need the technique.