Contents:
- Why Castor Oil Works for Hair Growth and Strength
- Preparing Your Hair and Scalp Before Application
- Determining Your Hair Type and Oil Needs
- Choosing the Right Time and Frequency
- Step-by-Step Application Techniques
- Method 1: Scalp-Focused Application (For Hair Loss and Growth)
- Method 2: Length and End Treatment (For Damaged Hair)
- Method 3: Full-Length Treatment (For Comprehensive Care)
- How Long to Leave Castor Oil In Your Hair
- Removing Castor Oil Properly
- Best Practices for Results in Limited Spaces
- Castor Oil Application Timeline and Seasonal Guide
- Potential Issues and Solutions
- Oil Buildup and Residue
- Scalp Irritation
- Excessive Greasiness
- Frequently Asked Questions
- Can I apply castor oil to wet or dry hair?
- How often should I wash my hair after a castor oil treatment?
- Is castor oil suitable for all hair types?
- Can castor oil make my hair fall out?
- What’s the difference between castor oil and jamaican black castor oil?
- Making Castor Oil Part of Your Hair Care Routine
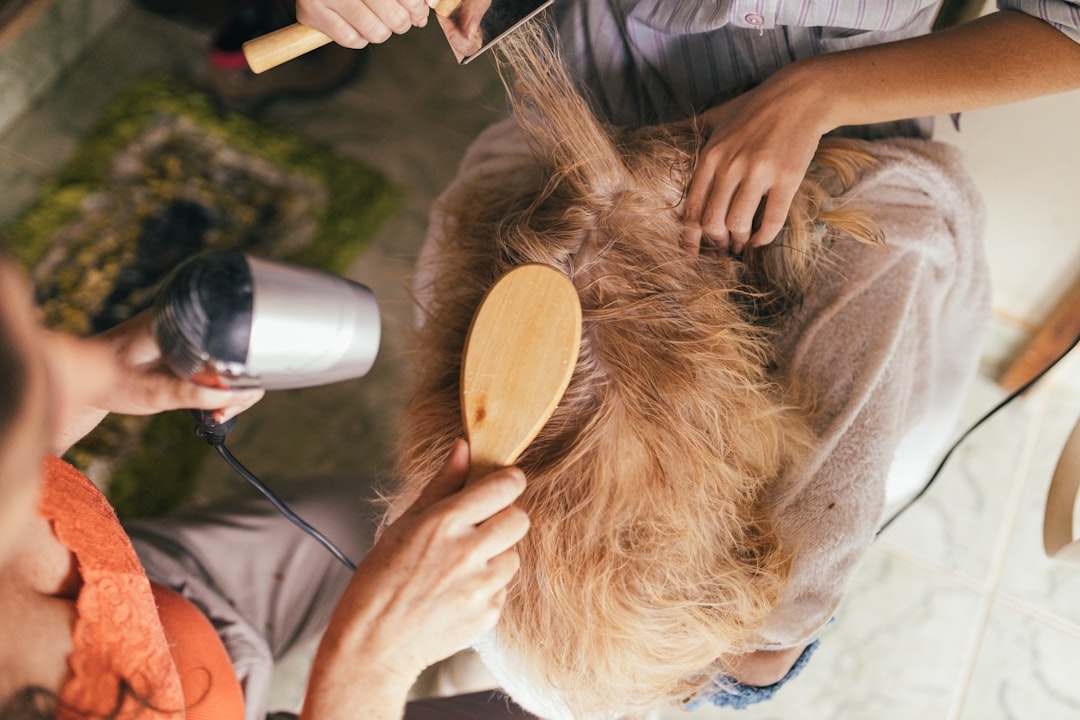
Castor oil treatments can transform your hair from dry and brittle to soft and resilient, but most people are applying it wrong. The difference between mediocre results and genuinely impressive ones often comes down to technique—where you apply the oil, how much you use, and how long you leave it in.
Why Castor Oil Works for Hair Growth and Strength
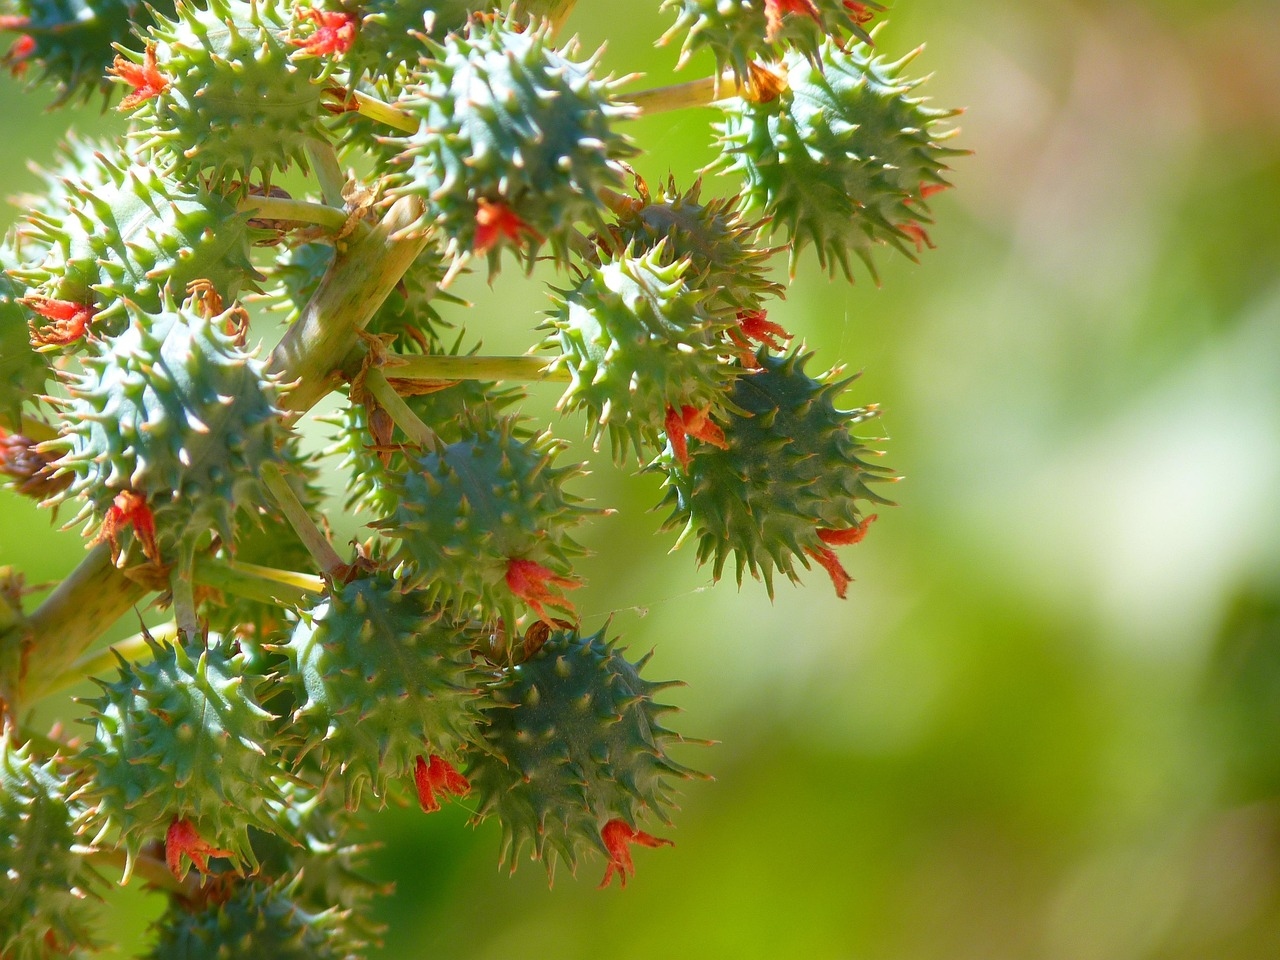
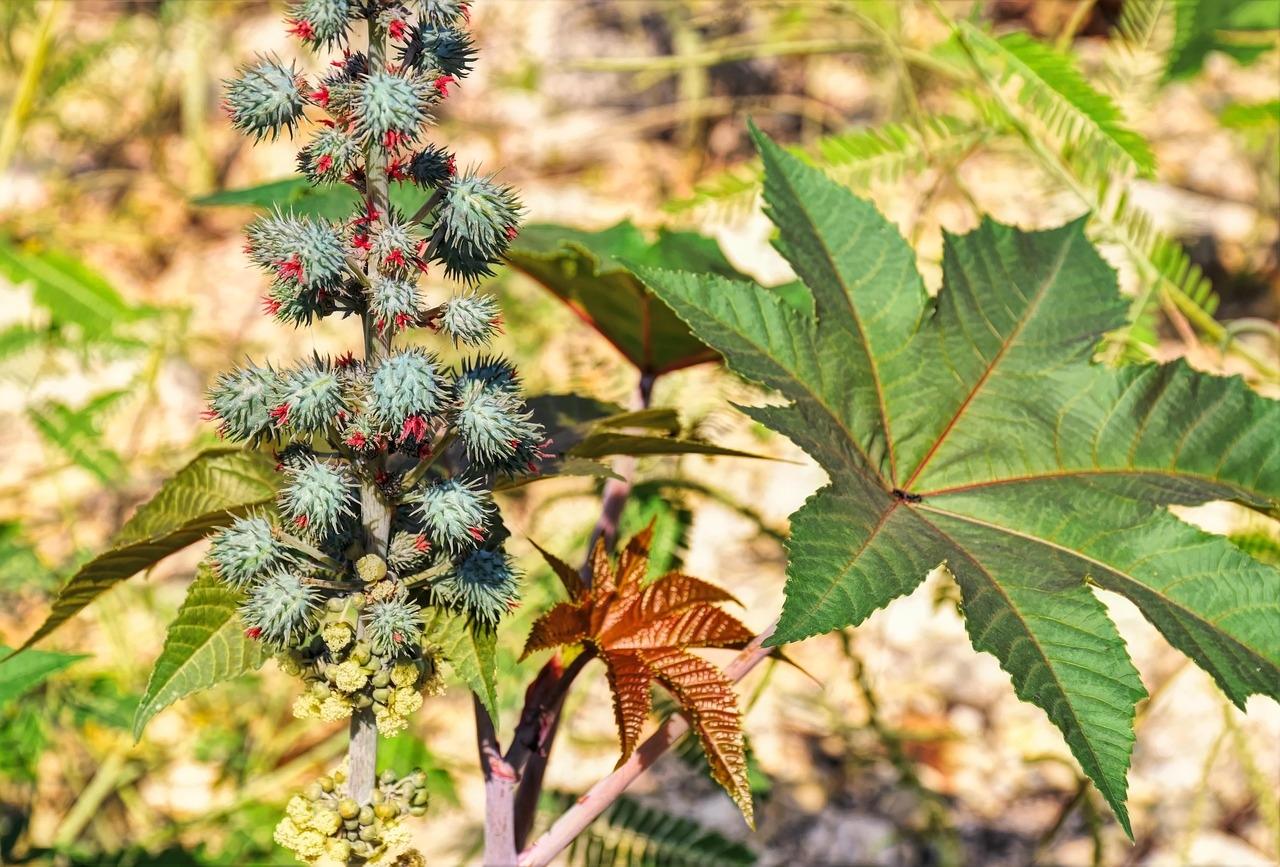
Castor oil has been used in traditional medicine for over 4,000 years, and modern science backs up its reputation. The oil contains ricinoleic acid, which improves blood circulation to the scalp. This enhanced circulation helps deliver nutrients directly to hair follicles, potentially reducing hair loss and promoting thicker regrowth.
The oil’s fatty acids—oleic and linoleic—penetrate the hair shaft itself, sealing in moisture. This is why hair treated with castor oil feels softer and looks shinier. A 2015 study found that castor oil increased hair thickness by an average of 15% when used consistently over 16 weeks.
Beyond growth, castor oil contains natural antifungal and antibacterial compounds. This makes it particularly effective for people with dandruff or scalp inflammation. If you’ve struggled with flaky scalps despite using commercial treatments, castor oil often works where other products have failed.
Preparing Your Hair and Scalp Before Application
Preparation determines whether your treatment delivers results or creates an oily mess. Start by assessing your hair type, as this affects how much oil you’ll need and where you should focus.
Determining Your Hair Type and Oil Needs
Fine or thin hair requires only 10-15ml of castor oil per application. Medium hair needs 15-25ml, whilst thick or curly hair can handle 25-40ml. These quantities prevent that weighed-down, greasy appearance that discourages many people from trying oil treatments.
To test whether you’re using the right amount, apply the oil to clean, damp hair. If your hair looks plastered to your head within five minutes, you’ve used too much. It should look slightly darker and separated, not slicked down.
Choosing the Right Time and Frequency
Consistency matters more than intensity. Applying castor oil once weekly is more effective than one intense monthly treatment. A sustainable routine is one you’ll actually maintain. For most people, Friday evening or Saturday morning works perfectly—you can leave the oil on overnight without disrupting your work week.
Seasonal timing also affects results. Winter months, when central heating dries out your scalp and hair, justify more frequent applications. Spring and summer allow you to reduce frequency to once every two weeks if your scalp becomes oily faster.
Cost Breakdown (2026 UK Prices): Quality cold-pressed castor oil costs £6-£12 per 100ml bottle. At 20ml per application, one bottle lasts approximately five treatments. Annual investment at weekly applications comes to roughly £60-£120 per year—significantly cheaper than salon treatments or specialised hair products.
Step-by-Step Application Techniques
Method 1: Scalp-Focused Application (For Hair Loss and Growth)
This technique targets the root cause of hair loss—poor scalp health. Part your hair into four sections using two clips, creating a cross pattern from front to back. Pour 2-3ml of castor oil into a small glass bowl.
Using a cotton wool ball or small brush, apply oil directly to a thin line of scalp in the first section. Work systematically, parting the hair slightly and applying oil every 2-3cm along the scalp line. This ensures you’re treating the follicles, not just coating the hair shaft.
Massage the oil into your scalp using your fingertips in small circular motions for 5 minutes. This massage increases blood flow—the real magic happens here. You should feel a warm sensation across your scalp. Move through all four sections, spending 1-2 minutes on each area.
What the Pros Know: Professionals add a hot towel treatment after application. Wrap a damp, warm towel round your head for 10 minutes. Heat opens the scalp’s pores, allowing deeper penetration. You’ll notice your hair absorbing the oil faster and responding better to treatment.
Method 2: Length and End Treatment (For Damaged Hair)
If your hair is breaking or your ends are splitting, focus here instead of the scalp. Apply 15-20ml of oil to your palms and run your hands through your hair, starting 5cm from the scalp. The natural oils from your scalp will travel down over time—you don’t need to add more at the top.
Pay special attention to the last 10cm of your hair. These ends are oldest and most damaged. Saturate them thoroughly. If you have very long hair (past your shoulders), use a wide-toothed comb to distribute the oil evenly and remove tangles.
Method 3: Full-Length Treatment (For Comprehensive Care)
Combine both approaches. After applying scalp-focused oil, distribute the remaining amount through the lengths and ends. This is ideal for people with multiple hair concerns or those new to oil treatments who want to see maximum results quickly.
Start with this method once weekly for the first month. You’ll notice improvements in softness within 2-3 weeks and visible thickness increases by week 6-8.
How Long to Leave Castor Oil In Your Hair
Duration depends on your schedule and hair type. The minimum effective time is 30 minutes, but longer usually means better results.
30-Minute Express Treatment: Best for people with fine hair or thin scalps. Apply oil, place a shower cap on, and go about your day. The heat from your head helps the oil penetrate without requiring an additional heat source.
2-4 Hour Deep Treatment: This is the sweet spot for most people. Apply your oil mid-morning and shampoo it out in early afternoon, or apply in the evening and wash before bed. You’ll see noticeably better results than with shorter applications. The extended time allows the oil’s fatty acids to fully coat each hair strand.
Overnight Treatment: Sleep with the oil in your hair. Place a towel on your pillowcase first. Many people find overnight applications deliver the best results because the sustained heat and moisture provide maximum conditioning. Hair is softer and shinier the next morning than with any shorter duration.
Fair warning: overnight treatments require more robust shampooing. You’ll likely need to shampoo twice to fully remove the oil. One wash alone often leaves residue that makes your hair look limp.
Removing Castor Oil Properly
Removal is where many people fail. Leaving oil residue in your hair undoes your efforts and makes your hair look greasy for days.
First, dry shampoo or dust your hair with talcum powder before you wash. This helps absorb surface oil and makes removal easier. Leave the dry shampoo in for 2-3 minutes.
Brush your hair thoroughly to remove the powder and any loose oil. Use a regular brush—not a paddle brush—to avoid matting.
Apply shampoo directly to dry hair in the areas where you applied oil most heavily. Massage gently for 1-2 minutes without adding water. The shampoo will sit on the oil and start breaking it down. Now rinse thoroughly with warm water.
Shampoo a second time if needed—many people with fine hair need only one wash, whilst those with thick or curly hair usually need two. The second wash should produce very little lather, indicating most oil is gone.
Finish with cool water. Cool temperatures close your hair’s cuticle, locking in the moisture from the oil treatment and creating a shinier finish.
Best Practices for Results in Limited Spaces
Living in a small apartment or shared housing presents unique challenges for oil treatments. You can’t easily contain the mess, and you may not have privacy or space to move around freely.
Invest in a clear shower cap (£2-4). It’s the single best tool for apartment dwellers. The cap keeps oil off your furniture and clothes, and you can see what you’re doing through the clear material. Wear dark, old clothes during your treatment—castor oil stains permanently.
Apply your oil treatment in the bathroom. Sit on the edge of the bathtub whilst applying and massaging, keeping everything over the tub. This contains any drips immediately.
For overnight treatments in tight spaces, use a small towel instead of wrapping your entire pillow. Place one bath towel flat on your bed, rest your head on it, and pull the second towel over your hair like a cap. This confines any oil transfer to the towels, not your bedding.
Castor Oil Application Timeline and Seasonal Guide
Results follow a predictable pattern when you’re consistent:
Weeks 1-2: Hair feels softer. Shine improves noticeably. No visible thickness change yet.
Weeks 3-4: Scalp feels healthier. Itching or flaking decreases if you had those issues. Hair looks thicker in direct light.
Weeks 5-8: New hair growth appears along your hairline and parting (this is new hair, not existing hair getting thicker). Overall volume increases visibly.
Weeks 9-16: Significant thickness increases become obvious. People who haven’t seen you in a month often comment on your hair.
Seasonal adjustments: During autumn and winter (September-February), maintain weekly applications as heating systems dry your scalp and hair becomes more brittle. Spring (March-May) allows you to shift to every 10 days. Summer (June-August) permits fortnightly applications as natural humidity helps your hair.
Potential Issues and Solutions
Oil Buildup and Residue
If your hair looks dull or feels heavy despite shampooing, you’re not removing oil completely. Switch to a clarifying shampoo once monthly. Clarifying shampoos are harsher and strip away accumulated residue that regular shampoo misses. Follow immediately with a deep conditioner to restore moisture.
Scalp Irritation
Pure castor oil can irritate sensitive scalps. If you develop redness or itching, reduce application frequency to every two weeks and dilute your castor oil with an equal amount of coconut oil. This reduces potency whilst maintaining benefits.
Excessive Greasiness
Using too much oil or leaving it on too long creates the opposite of your desired result. Reduce the quantity by 25% or shorten your treatment time from overnight to 2 hours. Sometimes less is truly more with oil treatments.
Frequently Asked Questions
Can I apply castor oil to wet or dry hair?
Damp hair works best. Towel dry your hair first until it’s no longer dripping but still noticeably wet. Damp hair allows the oil to distribute more evenly. Completely dry hair causes the oil to clump. Soaking wet hair dilutes the oil and reduces its effectiveness.
How often should I wash my hair after a castor oil treatment?
Wait at least 2-3 days before washing again. This allows the oil’s benefits to settle in. If you wash the day after treatment, you’re stripping away the treatment’s effects. Most people find a weekly oil treatment on Friday works perfectly—they wash on Monday, giving the oil 3 full days to work.
Is castor oil suitable for all hair types?
Castor oil works for all hair types, but application differs. Fine or straight hair requires less oil and shorter treatment times. Curly, coily, or textured hair can tolerate more oil and longer applications. Adjust quantities and duration to your specific hair, not a generic formula.
Can castor oil make my hair fall out?
No. Hair shedding during or immediately after treatment isn’t caused by the oil—it’s actually beneficial. The oil strengthens weak hairs and accelerates the natural shedding cycle of older hairs. You’re seeing dead hairs leave, making room for stronger new growth. This shedding is temporary and indicates the treatment is working.
What’s the difference between castor oil and jamaican black castor oil?
Jamaican black castor oil is made from roasted castor beans, giving it a darker colour and stronger scent. It’s more potent than regular castor oil and works faster, but it can irritate sensitive scalps. Regular cold-pressed castor oil is gentler for sensitive skin. Start with regular castor oil—upgrade to Jamaican black only if your scalp tolerates it perfectly.
Making Castor Oil Part of Your Hair Care Routine
The most effective hair treatment is one you’ll actually stick with. Castor oil requires consistency—sporadic applications won’t produce visible results. Build it into your weekly routine as a non-negotiable appointment with yourself.
Set a specific day and time. Friday evening before the weekend works for most people. Create a small system: gather your bottle, bowl, shower cap, and towel before starting. The more friction-free your routine, the more likely you’ll maintain it beyond the initial two weeks.
Track visible changes in a photo taken under consistent lighting. You won’t notice gradual thickness improvements day-to-day, but monthly photos reveal dramatic changes. This motivates continued treatment.
Share your routine with someone. Telling a friend or partner that you’re doing weekly castor oil treatments creates accountability. You’re more likely to follow through when someone else knows your commitment.
Start with a high-quality cold-pressed castor oil from a reputable source. Bargain oils may be diluted or contain contaminants. Spending an extra £3-5 per bottle ensures you’re getting genuine results, not wasting weeks on ineffective product.