Contents:
- Understanding Hair Thinning: What It Actually Means
- How Thinning Differs From Point-Cutting and Razoring
- Getting Started: Tools and Preparation
- The Point-Cutting Technique: Step-by-Step
- The Slicing Technique for Textured Results
- What the Pros Know
- Expert Insight: Words from a Pro
- Special Considerations for Different Hair Types
- Practical Tips to Avoid Common Mistakes
- When to Call a Professional
- Maintenance and Aftercare
- Frequently Asked Questions
- Your Next Steps
You’ve got thick, voluminous hair—and honestly, most people would kill for that problem. But when your crowning glory feels more like a heavy helmet, thinning becomes less of a luxury and more of a necessity. The twist? Professional thinning scissors cost upwards of £80, and a salon appointment can run £45–£70 per visit.
Here’s the good news: you don’t need specialised shears to achieve a beautifully thinned, manageable mane. With the right techniques, standard scissors, and patience, you can reduce bulk, improve movement, and create soft layers—all from your bathroom.
This guide walks you through proven methods that hairstylists use every day. Whether you’re managing fine, thick, curly, or straight hair, these approaches work.
Understanding Hair Thinning: What It Actually Means
Before reaching for scissors, let’s clarify what thinning actually does. Thinning removes bulk and density while preserving length and shape. It’s distinctly different from cutting shorter, which reduces length but maintains volume throughout the strand.
When you thin hair, you’re selectively shortening some strands—not all—to allow light and air to move through the hair. The result is a lighter feel, improved texture definition, and less frizz for curly hair types. A full head of thick hair might go from 150 grams of density to 120 grams after a proper thinning session.
The common misconception? People often confuse thinning with shaving or razoring. While they’re related techniques, thinning specifically targets inner layers and points within the hair, rather than creating harsh edges or removing length uniformly.
How Thinning Differs From Point-Cutting and Razoring
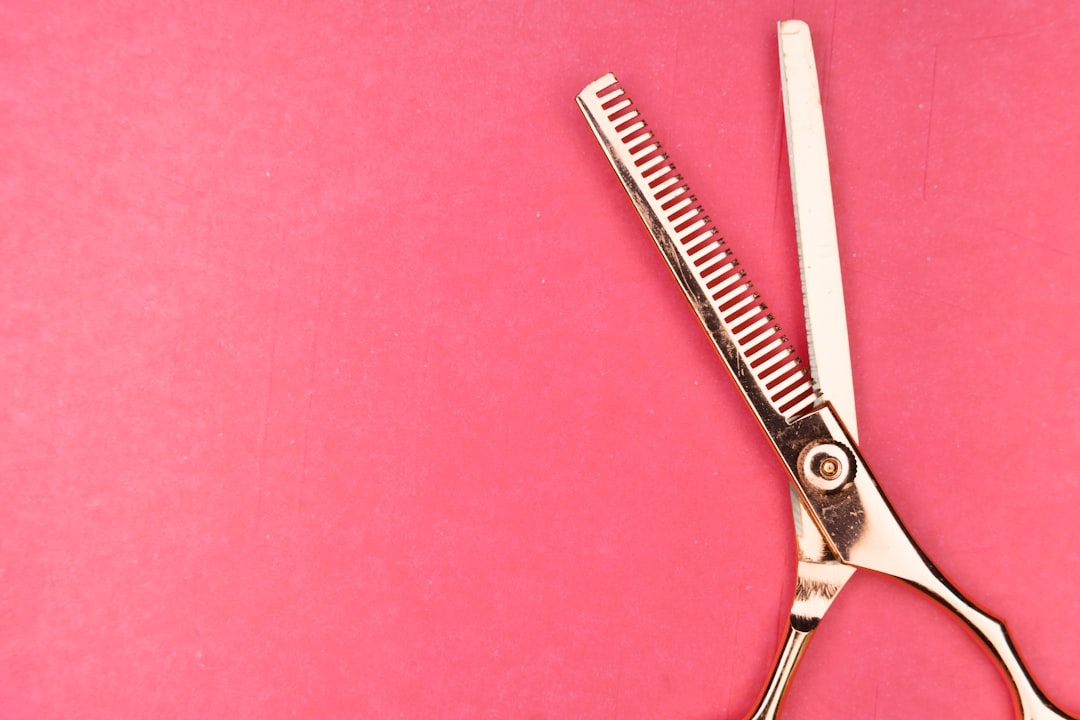
Three main techniques reduce bulk: thinning (using thinning scissors), point-cutting (using regular scissors at angles into the hair), and razoring (using a straight razor on wet or damp hair). Each produces different textures and results.
Thinning scissors have one blade with teeth and one smooth blade, which removes strands selectively every few millimetres. The texture is blunt but graduated.
Point-cutting involves angling your regular scissors inward, following the hair’s natural line, and snipping at 45-degree angles. This method creates softer, more diffused edges and works beautifully on all hair types.
Razoring uses a straight razor to shave through damp hair, creating ultra-textured, piecy ends. It’s advanced and risky for beginners—one wrong angle can leave choppy gaps.
For home use, point-cutting with standard scissors is your safest bet. It gives professional-looking results without the learning curve of razoring, and without the investment in thinning scissors.
Getting Started: Tools and Preparation
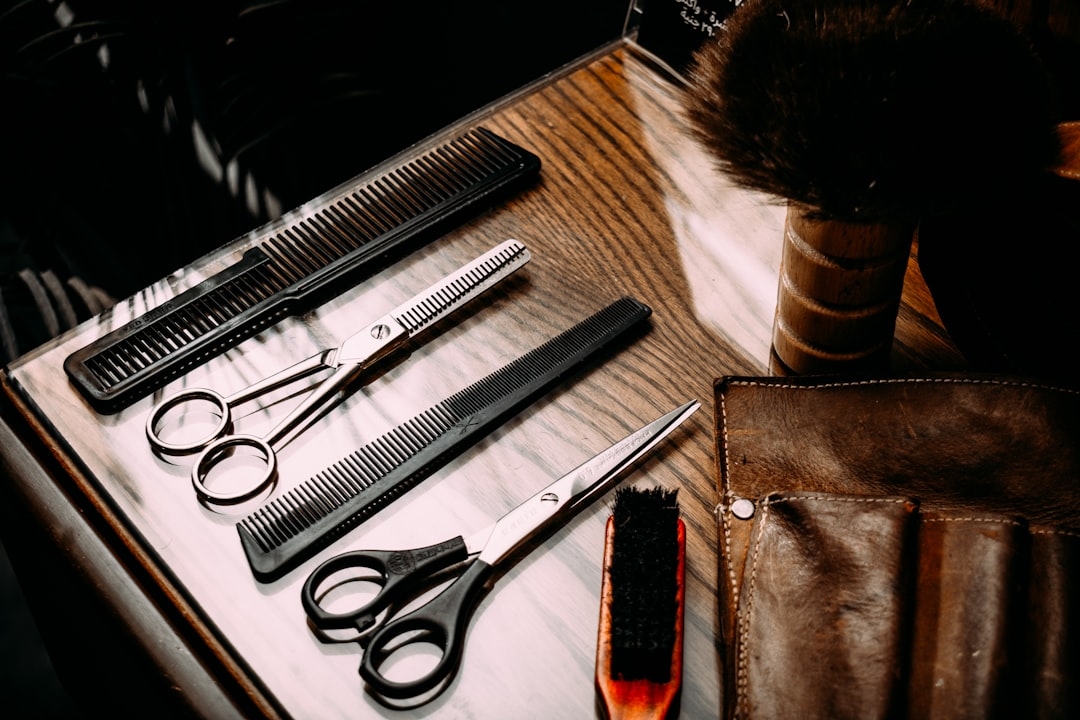
You don’t need a kit full of expensive equipment. Here’s what actually works:
- Scissors: One pair of sharp, straight-edge haircutting scissors (not craft scissors—they’re too dull). Expect to pay £15–£30 for quality. Kitchen shears won’t cut it, literally.
- Spray bottle: Fill with water to dampen hair as you work. Wet hair is easier to section and control.
- Clips: Four to six hair clips keep sections separated. Cheap ones from any pound shop work fine.
- Mirror: A large handheld mirror plus your bathroom mirror gives you a clear view of the back of your head.
- Comb: A wide-tooth comb detangles; a fine-tooth comb sections hair precisely.
- Towel: Lay one around your shoulders to catch clippings (saves cleanup time significantly).
Avoid working on completely dry hair. Damp hair shows you exactly where you’re cutting and prevents flyaways from bouncing back unpredictably. A light mist is all you need—oversaturated hair won’t respond the way you expect.
The Point-Cutting Technique: Step-by-Step
Point-cutting is the most forgiving method for home use. You’re using the tips of your scissors to notch into the hair rather than making blunt cuts across the entire section. This creates graduation and reduces bulk gradually.
Step 1: Section your hair into zones. Divide your head into four quadrants using a fine-tooth comb. Clip up three sections, leaving one down to work on. This prevents overwhelming yourself and keeps things organised.
Step 2: Work from underneath. Always cut the lower, inner layers first. Hair naturally falls over these sections, concealing any mistakes. If your first cuts aren’t perfect, your hair hides them. Starting underneath builds your confidence safely.
Step 3: Take small subsections. Within each quadrant, grab subsections roughly two centimetres wide. Thinner sections give you better control and more precise results. Thicker sections are harder to manage and lead to uneven thinning.
Step 4: Angle your scissors inward. Hold the subsection between your fingers (index and middle). Position your scissors at a 45-degree angle, pointing toward your head rather than straight across. This is the critical move that creates soft edges instead of blunt ones.
Step 5: Make small, deliberate cuts. Don’t hack away. Make three to five small point-cuts per subsection, spacing them evenly from mid-length to the ends. Each notch removes 10–15 percent of the strands in that section. You’re aiming for cumulative thinning, not dramatic removal in one spot.
Step 6: Rotate through sections. Release one clipped section at a time and repeat steps 2–5. Work in this order: underneath layers first, then the sides, then the top. The top layers will naturally fall over the others, blending your work.
Step 7: Blend and assess. Once you’ve point-cut all sections, mist your hair with water, comb it through, and look at the overall shape. You should see softer graduation, not choppy layers. If some areas still feel too thick, repeat point-cutting only in those spots—never the entire head twice.
The Slicing Technique for Textured Results
Slicing is another beginner-friendly approach. You comb hair vertically or horizontally and slice through it with your scissors held at an angle. This works especially well for curly or textured hair, where you want to enhance natural pattern rather than disrupt it.
Comb a vertical section of hair straight down. Hold your scissors at a 45-degree angle and glide them down the hair shaft in one smooth motion, closing the blades as you slide. Repeat across that section, spacing cuts about one centimetre apart.
Slicing removes bulk quickly—perhaps 20–25 percent per pass—so use restraint on your first attempt. You can always slice again; you can’t add hair back. This method works brilliantly on shoulder-length or longer hair. It’s less effective on very short hair because there’s less shaft length to slice.
What the Pros Know
Professional stylists use a principle called “internal layering.” Rather than creating visible layers by cutting graduated lengths, they thin the interior of the hair while maintaining the external shape. This keeps the silhouette intact while reducing weight dramatically. To replicate this, always work on lower, inner layers before touching the top layer. The top layer is the frame; keep it fuller and longer. Only thin underneath.
Expert Insight: Words from a Pro
According to Eleanor Marsh, a trichologist at the London Hair Institute, “Home thinning works best when people focus on technique over tool choice. The difference between a £100 pair of thinning scissors and a £20 pair of kitchen shears isn’t the shears—it’s knowing exactly where to cut. Point-cutting mimics professional thinning perfectly if you’re patient and use proper angles. I’ve seen people with standard scissors achieve results that rival salon work, simply because they understood the geometry of the cut.”
Special Considerations for Different Hair Types
Straight hair: Straight hair shows thinning most obviously. Work in smaller subsections (1–1.5 centimetres wide) to maintain evenness. Point-cut more conservatively on straight hair than curly hair—aim for 15 percent reduction per pass, not 25 percent. Straight hair doesn’t hide imperfections the way curly hair does.
Curly or wavy hair: Curly hair is forgiving. The natural texture hides uneven thinning beautifully. You can work in slightly larger subsections (2–2.5 centimetres) and be more aggressive with point-cutting. Aim for 20–25 percent reduction. Curly hair often benefits from extra thinning because it reduces frizz and defines curl pattern better.
Fine hair: Thinning fine hair is risky. You want to reduce bulk without creating wispy, see-through sections. If you have fine hair but lots of it, focus thinning only on the lower layers and sides. Leave the crown and top fuller to frame the face. Make very small point-cuts and limit yourself to one pass through each section.
Thick, coarse hair: This is ideal for aggressive thinning. You can work in larger subsections and make more point-cuts per section. Coarse hair can handle multiple passes. Aim for 25–30 percent reduction per quadrant. This hair type looks and feels noticeably better after thinning.
Practical Tips to Avoid Common Mistakes
Don’t cut while completely dry. Dry hair bounces and shifts, making it impossible to control your cuts. You’ll end up with uneven results. A light mist from a spray bottle prevents this entirely.
Never thin the top layer first. This is how people end up with thin, wispy tops and thick bottoms. Always start underneath. The top layer should be the last thing you touch, and only if thinning underneath leaves visible gaps.
Avoid uniform cuts. Don’t cut every subsection identically. Vary your approach slightly—more cuts in thicker areas, fewer in thinner areas. This creates natural-looking graduation rather than obvious layers.
Don’t rush between sections. Take your time. Spending five extra minutes on careful point-cutting saves you from regret later. Rushed work leads to choppy, obvious thinning that screams “DIY.”
Skip the back if you can’t see it well. The back of your head is genuinely hard to assess in a mirror. If you’re unsure, ask a friend to help, or focus your thinning on sides and top layers where you have better visibility.
When to Call a Professional
Certain situations warrant a visit to a salon instead. If your hair is very short (under five centimetres), thinning is technical and mistakes show immediately. If you have a complex cut with multiple layers already in place, home thinning risks disrupting the design. If you’re nervous, book one professional thinning session and ask the stylist to explain exactly what they’re doing. Watching and asking questions turns a £50 salon visit into a masterclass.
For thick, healthy hair on a budget, DIY point-cutting every six to eight weeks costs virtually nothing and maintains your style beautifully between professional cuts.
Maintenance and Aftercare
Fresh thinning can make hair feel lighter and slightly drier. Use a hydrating conditioner on the mid-lengths and ends for the first week. Avoid heavy styling products immediately after; your hair is still adjusting to its new texture. After three days, your hair will settle into its new weight and shape.
Thinning lasts four to eight weeks depending on how aggressively you cut. Thicker hair holds the effect longer. As your hair grows, the thinned sections move down and blend with new growth naturally. You won’t see a harsh line unless you cut very dramatically—which is another reason to work conservatively on your first attempt.
Frequently Asked Questions
Q: Will thinning my hair make it grow back thicker?
A: No. Hair thickness is determined by genetics and hair follicle size, not by cutting. Thinning doesn’t affect future growth. You’ll simply notice existing hair feeling lighter as it grows.
Q: How often should I thin my hair at home?
A: Every four to eight weeks, depending on your hair type and how much reduction you want. Thick, coarse hair can handle every four weeks. Fine hair should wait eight weeks between sessions.
Q: Can I use regular kitchen scissors?
A: Not ideally. Kitchen scissors are too dull and crush hair rather than cutting cleanly, leaving frayed ends. Invest £15–£30 in proper haircutting scissors. It makes an enormous difference.
Q: What if I thin too much and hate it?
A: You haven’t removed length, so your hair will blend back together as it grows. In the meantime, use volumising products strategically, style with braids or updos, or visit a stylist for advice on blending the thinned sections with a subtle cut.
Q: Does thinning work on coloured or damaged hair?
A: Yes, but be gentle. Damaged or very fine coloured hair is fragile. Make fewer point-cuts per subsection (two to three instead of five) and work more conservatively. If your hair is severely damaged, deep condition it first to improve its integrity.
Your Next Steps
Start small. Thin one section completely, assess the results for a few days, then decide whether to continue with the rest of your head. You’ll gain confidence quickly. Point-cutting is genuinely forgiving because the effects blend seamlessly as your hair moves and grows. After your first successful session, you’ll wonder why you ever paid salon prices for what amounts to strategic notching.
Grab your scissors, clip up that top layer, and give it a go. Your wallet—and your hair—will thank you.