Contents:
- Understanding Why Cat Hair Becomes Matted
- Essential Tools for Mat Removal
- Mat Splitters and Dematting Combs
- Brushes and Conditioning Aids
- The Step-by-Step Removal Process
- Assess the Mat Severity
- Create the Right Environment
- Apply Conditioning Spray
- Start with the Dematting Comb
- Use the Mat Splitter (If Needed)
- Finish with a Slicker Brush
- Regional Considerations and Professional Support
- Prevention: The Best Strategy
- Establish a Regular Brushing Schedule
- Pay Attention to High-Risk Areas
- Manage Shedding with Undercoat Tools
- Monitor After Bathing or Outdoor Time
- What Not to Do
- Recovery and Next Steps
- Expert Perspective
- Frequently Asked Questions
- How long does it take to remove a large mat?
- Can I use human conditioner or hair products on my cat?
- Will removing mats prevent my cat from matting in the future?
- Is it ever necessary to cut out a mat?
- What’s the best comb for long-haired cats prone to matting?
- Moving Forward With Confidence
The soft undercoat of a cat’s fur is matted into tight knots again. You run your fingers through what should be silky strands, and instead find yourself wrestling with dense clumps that have become as stubborn as dried clay. This is the moment many cat owners reach for scissors—but there’s a better way. Removing matted cat hair without cutting requires patience, the right tools, and a systematic approach that your feline friend will actually tolerate.
Matted fur is more than a cosmetic concern. These tangles trap moisture against the skin, restrict movement, and can harbour bacteria or parasites. A cat with severe matting becomes uncomfortable and vulnerable to skin infections. The good news: most mats can be successfully removed without resorting to clippers, especially when caught early and treated methodically.
Understanding Why Cat Hair Becomes Matted
Before tackling the removal process, it helps to understand what causes matting in the first place. Most cats groom themselves throughout the day, but certain circumstances prevent effective self-cleaning. Long-haired breeds like Persians, Maine Coons, and Ragdolls are naturally prone to matting because their coats are thicker and more complex. Cats with undercoats—nearly all domestic varieties—develop loose hairs that become trapped in the longer outer coat layers.
Environmental factors accelerate matting significantly. Humidity and moisture are notorious culprits; a cat that plays near water, sweats from stress, or lives in a damp climate will mat more rapidly than one in a dry environment. Outdoor cats in coastal regions or areas with high precipitation face particularly stubborn matting issues. Even indoor cats shed roughly 30 to 40 grams of fur per week during spring and autumn, increasing the likelihood of tangles forming.
Lack of regular brushing is perhaps the most preventable cause. A cat that hasn’t been groomed for three to four weeks will likely develop noticeable mats, especially around the armpits, hindquarters, and neck—areas that experience the most friction and moisture accumulation.
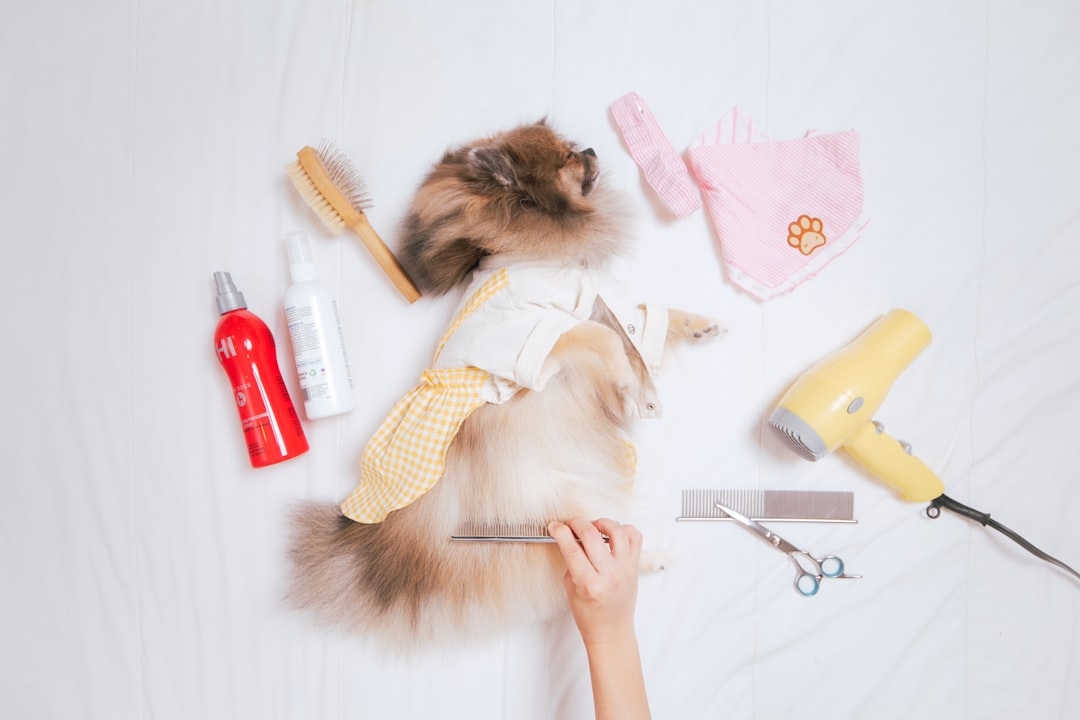
Essential Tools for Mat Removal
Success depends partly on using the correct equipment. You don’t need expensive salon tools, but you do need the right ones.
Mat Splitters and Dematting Combs
A dematting comb is your first line of defence. Look for a metal comb with teeth spaced approximately 2-3mm apart. The Chris Christensen #056 Greyhound Comb (around £18 to £22) is considered the industry standard, though comparable brands like Andis Steel Comb (£12-16) perform equally well. These combs have fine teeth that catch and separate matted fibres without pulling the entire section apart.
Mat splitters operate differently. They cut through the middle of a mat rather than pulling it apart, which helps weaken stubborn tangles without damaging the surrounding healthy coat. A quality mat splitter costs between £8 and £15. Use this tool only after attempting to loosen the mat with a comb, as it can damage individual hairs if overused.
Brushes and Conditioning Aids
A slicker brush—a flat brush with short, fine wires close together—works brilliantly for detangling once you’ve loosened initial mats. The Artero Cepillo Slicker (£14-20) or similar products are invaluable. Pair it with a metal undercoat rake if your cat has a dense double coat.
Coat conditioning sprays specifically designed for matted fur make an enormous difference. Products like Isle of Dogs Tearless Conditioning Spray (£10-14) or Burt’s Bees Very Volumizing Conditioner (£8-12) soften mats and reduce friction, making combing far easier. Always use grooming sprays rather than water; water can actually tighten mats and promote matting further.
The Step-by-Step Removal Process
Assess the Mat Severity
Not all mats are equal. Loose tangles that separate easily when you pull gently are minor—these usually require just ten minutes of work. Tight, compact mats that feel like solid clumps are severe. A mat is considered severe when you cannot see the skin beneath it or when the mat is larger than approximately one centimetre in diameter and density. Mats near the eyes, ears, or genital area require extra caution and may justify a professional groomer’s expertise.
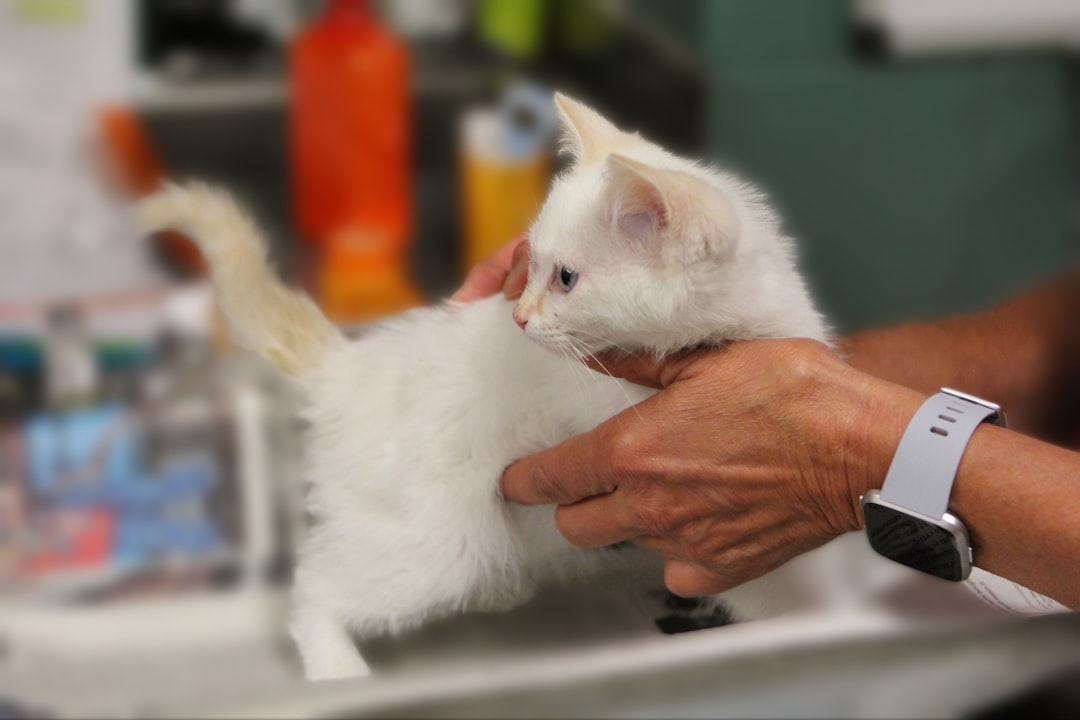
Create the Right Environment
Choose a quiet, comfortable space where your cat feels safe. A grooming table at elbow height (around 60-75cm high) is ideal, as it saves your back and keeps your cat stable. Ensure good lighting so you can see exactly what you’re working with. Have all your tools within arm’s reach before you start; constantly reaching for supplies frustrates your cat and breaks your momentum.
Many cats tolerate grooming sessions lasting 10-15 minutes before becoming restless. If you have multiple large mats, plan two or three short sessions rather than one exhausting marathon. A cat in discomfort will become defensive, and you risk injuring yourself or your pet.
Apply Conditioning Spray
Spray the mat and surrounding area generously with conditioning spray. Work it into the mat using your fingers, gently separating the edges. Wait 2-3 minutes for the product to penetrate and soften the fibres. This single step reduces combing time by roughly 40-50% compared to working with dry mats.
Start with the Dematting Comb
Hold the mat firmly at the base, near the skin, with one hand to prevent pulling and skin irritation. With your other hand, use the dematting comb with short, gentle strokes. Begin at the outer edges of the mat, not directly in the middle. Work outward and downward, never towards the skin. The goal is to separate individual fibres gradually, not to tear the mat apart explosively.
You’ll feel the mat beginning to loosen as you comb. Continue until you can pass the comb through the section without significant resistance. This process might take 5-20 minutes depending on mat size and density. Patience here prevents damage.
Use the Mat Splitter (If Needed)
For particularly stubborn mats that resist combing, slide the mat splitter under the mat (between the mat and skin) and make a single clean cut lengthwise down the centre. This divides the problem into two smaller sections. Never use the mat splitter on skin; the tip should always point away from your cat. After cutting, apply more conditioning spray and return to the dematting comb to separate the now-loosened sections.
Finish with a Slicker Brush
Once the primary mat is mostly loosened, switch to the slicker brush to refine the result. Use it in the direction of hair growth with gentle strokes. This removes any remaining tangles and restores the coat’s texture. Your cat should feel smooth to the touch, not rough or bristly.
Regional Considerations and Professional Support
Cat owners in the South East and London area, where humidity levels average 70-75% annually, deal with matting year-round. Pet owners in drier regions like the East Midlands experience worse matting primarily during spring shedding. Scottish and Welsh owners, where coastal humidity is prevalent, report that their long-haired cats mat almost continuously without weekly grooming.
Professional groomers exist throughout the UK, though their availability and pricing vary. A professional dematting session (without sedation) typically costs £40-£80 depending on mat severity and the groomer’s location. London and the South East charge premium rates, often £70-£120 for difficult cases. If you’re uncertain about your ability to safely remove extensive mats, or if your cat is anxious, a professional is worth the investment.
Prevention: The Best Strategy
Establish a Regular Brushing Schedule
Short-haired cats need brushing once every 7-10 days. Long-haired cats require attention 3-4 times per week, and daily brushing is ideal during peak shedding seasons (spring and autumn). A quick five-minute session catches loose hairs before they tangle, preventing mats entirely. The cumulative time investment is far less than dealing with severe matting.
Pay Attention to High-Risk Areas
Mats form most frequently in three zones: the armpits and chest, the hindquarters and tail base, and behind the ears and neck. Spend extra time brushing these areas, even if the rest of the coat looks fine. These regions experience the most friction as your cat moves and the most moisture from normal bodily processes.
Manage Shedding with Undercoat Tools
An undercoat rake or shedding tool removes loose undercoat before it becomes trapped and matted. Use these tools 2-3 times per week during high-shedding seasons. Cats shed most heavily in spring (March-May) and autumn (September-November), so intensify grooming during these months. Removing loose hair at the source prevents the accumulation that leads to mats.
Monitor After Bathing or Outdoor Time
If your cat gets wet—either from a bath, rain, or play near water—dry and brush thoroughly within a few hours. Moisture trapped in the coat sets the stage for matting. Most cats don’t enjoy bathing, but if you do bathe yours, follow up immediately with careful drying and brushing.
What Not to Do
Several common mistakes make matting worse or cause unnecessary harm:
- Don’t use water as a first step. Water tightens mats and makes them more dense. Always use coat conditioning spray designed for grooming.
- Don’t pull directly on a mat with a brush or comb. Pulling from the base outward irritates the skin and can cause tension alopecia (hair loss from repeated pulling). Always support the mat at the base with your other hand.
- Don’t rush severe mats into slicker brushes. A slicker brush on a tight mat pulls painfully and damages healthy hairs. Loosen with a dematting comb or mat splitter first.
- Don’t ignore mats between grooming sessions. A small mat left alone for two weeks becomes substantially larger and tighter, eventually requiring professional removal or clipping.
- Don’t use blunt-tipped scissors. If you do decide to use scissors, rounded-tip grooming scissors are safer than sharp ones, but scissors still risk cutting skin accidentally. Avoid this altogether if possible.
Recovery and Next Steps
After successfully removing mats, your cat’s coat will feel tangible relief. Many owners report that their cats groom more actively and move with improved flexibility once heavy mats are gone. This improvement is real—mats restrict movement and create discomfort you might not have fully appreciated until it’s resolved.
Apply a coat conditioning treatment or light grooming oil (products like Rosehip Oil Conditioning Spray, £6-10) to the treated areas over the next few days. This nourishes the hair and skin, promoting healthy regrowth where the mat was most dense. Avoid bathing your cat for at least 3-5 days after mat removal, as this prevents re-matting and allows the coat to stabilise.
Schedule your next grooming session for 4-5 days later. Even if your cat looks perfect, a gentle brush-through ensures any loose hairs from the removal process are captured and no new mats are forming. This follow-up session is quick—usually 5-10 minutes—but invaluable for keeping the coat mat-free.
Expert Perspective
Rebecca Torres, certified feline behaviorist and groomer specializing in matted coats, explains the importance of early intervention: “Most owners underestimate how quickly loose hair becomes trapped. I see cats that could have been groomed preventatively for minimal effort end up requiring sedation and professional removal because the matting became severe. Starting with just five minutes of brushing three times a week prevents 95% of serious matting issues.”
Torres emphasizes that the emotional experience matters too. “A cat that’s had to endure painful mat removal becomes anxious about handling and grooming. Getting ahead of the problem keeps your cat calm and confident during future grooming sessions. It’s an investment in your relationship with your pet.”
Frequently Asked Questions
How long does it take to remove a large mat?
A single large mat (roughly 2-3cm in diameter) typically requires 20-45 minutes of careful work. Severe, extensive matting across multiple body areas may require 1-2 hours. If matting is very severe, breaking the process into multiple sessions over several days is kinder to your cat and yields better results.
Can I use human conditioner or hair products on my cat?
Human products often contain fragrances and ingredients that irritate cat skin or are toxic if ingested during grooming. Always use grooming products specifically formulated for cats. These products are pH-balanced for feline skin and are safe even if your cat licks them.
Will removing mats prevent my cat from matting in the future?
No—mat removal solves the current problem but doesn’t prevent future matting. Only regular grooming prevents mats. Once mats are gone, commit to a consistent brushing routine to keep them from returning. Cats that matted once are often predisposed to matting again if grooming lapses.
Is it ever necessary to cut out a mat?
Professional groomers avoid cutting whenever possible because it damages the coat’s appearance for 6-12 months during the regrowth phase. However, matting so severe that it prevents circulation, holds moisture that’s causing skin infection, or is so tight that grooming causes pain may necessitate cutting. Always consult a veterinarian or professional groomer before resorting to this option, as there are usually alternatives even in extreme cases.
What’s the best comb for long-haired cats prone to matting?
A dematting comb with 2-3mm tooth spacing is ideal for prevention and early mat removal. The Chris Christensen #056 is the gold standard. For daily grooming between mat removal, a wide-tooth comb works well for most areas, but reserve the dematting comb for problem zones where mats tend to form.
Moving Forward With Confidence
Learning how to remove matted cat hair without cutting gives you genuine control over your cat’s grooming and comfort. The techniques above work for the vast majority of cats and mats. Armed with the right tools, a calm environment, and realistic expectations about time, you can safely manage this common problem yourself. Start with short sessions, celebrate small wins, and remember that your patience directly translates to your cat’s trust and comfort. A well-groomed cat is a happy cat—and you’ve now got the knowledge to keep yours looking and feeling their absolute best.